Test Integration: Advertising
Quick-start test integration for StreamLayer advertising on iOS. Deploy contextual ad units tied to live events or on a fixed schedule with notification, overlay, and L-bar formats.
Test Advertising
The Test Advertising integration provides a quick way to explore StreamLayer's advertising capabilities in a live or simulated environment. It allows a moderator to manually or automatically insert contextual ad units tied to game action or triggered on a fixed schedule (e.g., every 5 minutes).
Ad units can be delivered as notifications and StreamLayer Elements or in a squeeze-back L-bar format. Depending on the ad format, viewers can interact with them in various ways, such as:
- Saving a promotion to their digital wallet
- Scanning a QR code
- Opening another application or web page
During testing, the standard StreamLayer Launch Button and other feature sub-menus will be hidden to focus on the ad experience.
For this test setup:
- A moderator will use StreamLayer Studio to create and activate ad units.
- The StreamLayer team will provide your team with Studio access so you can create, post, and moderate advertising content.
This test is an effective way to evaluate how interactive advertising can be deployed across different types of programming.
Example 1
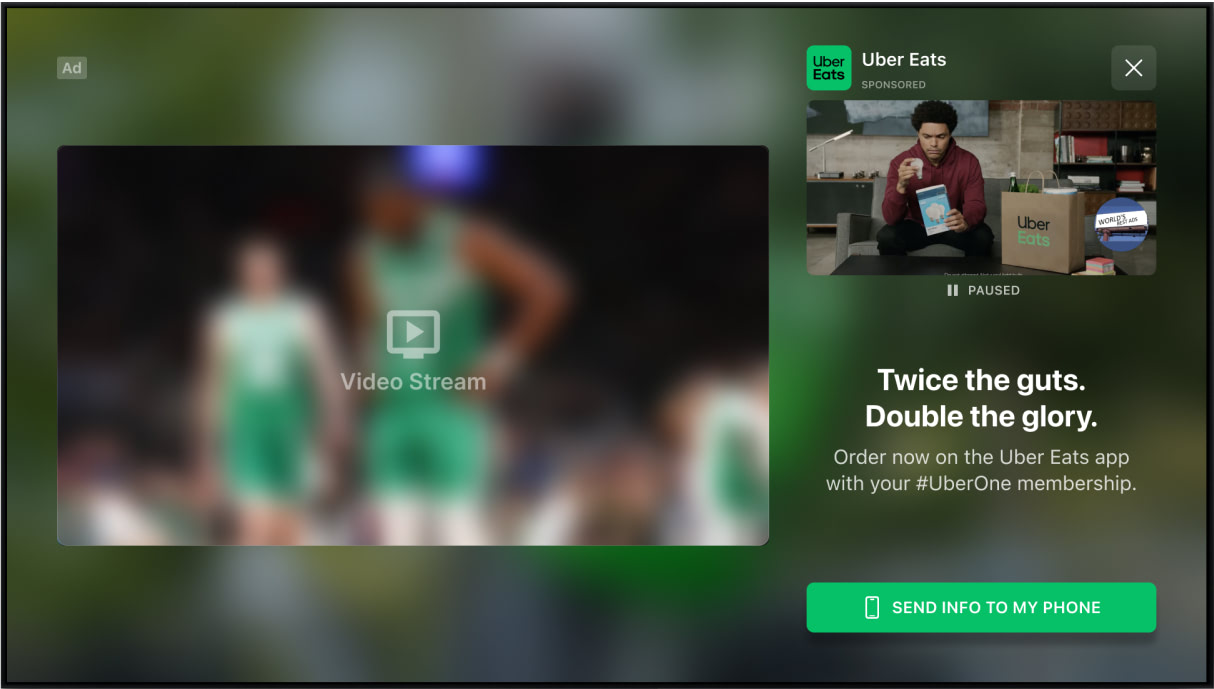
tvOS 2:1 Ad
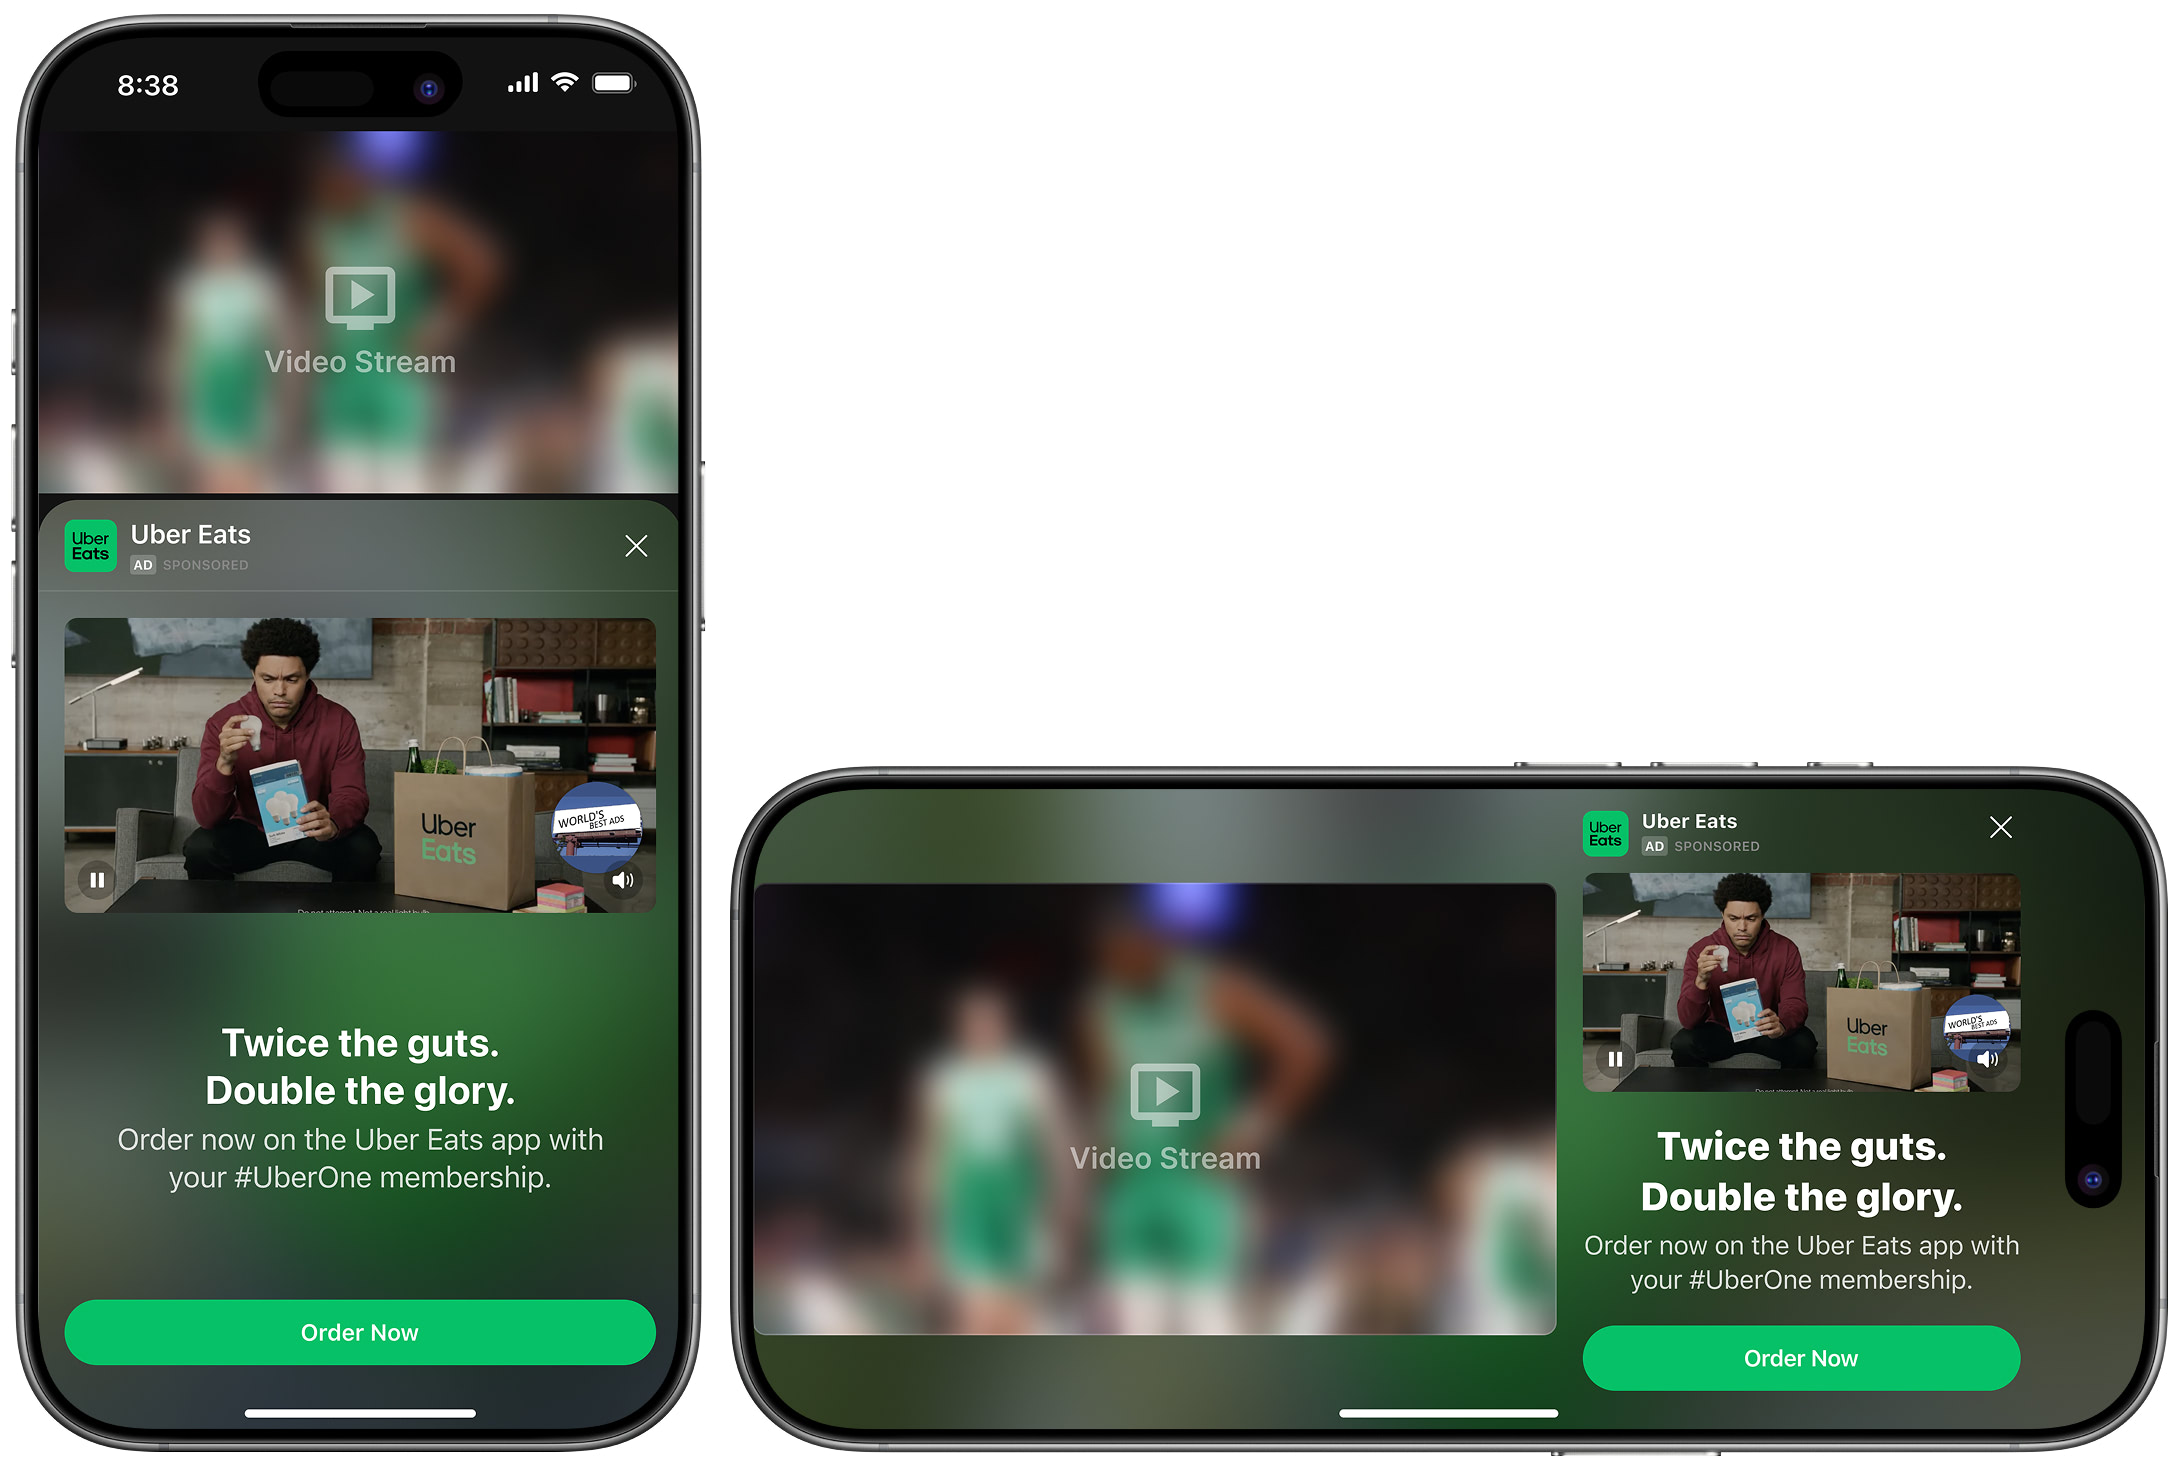
Side Panel
Example 2
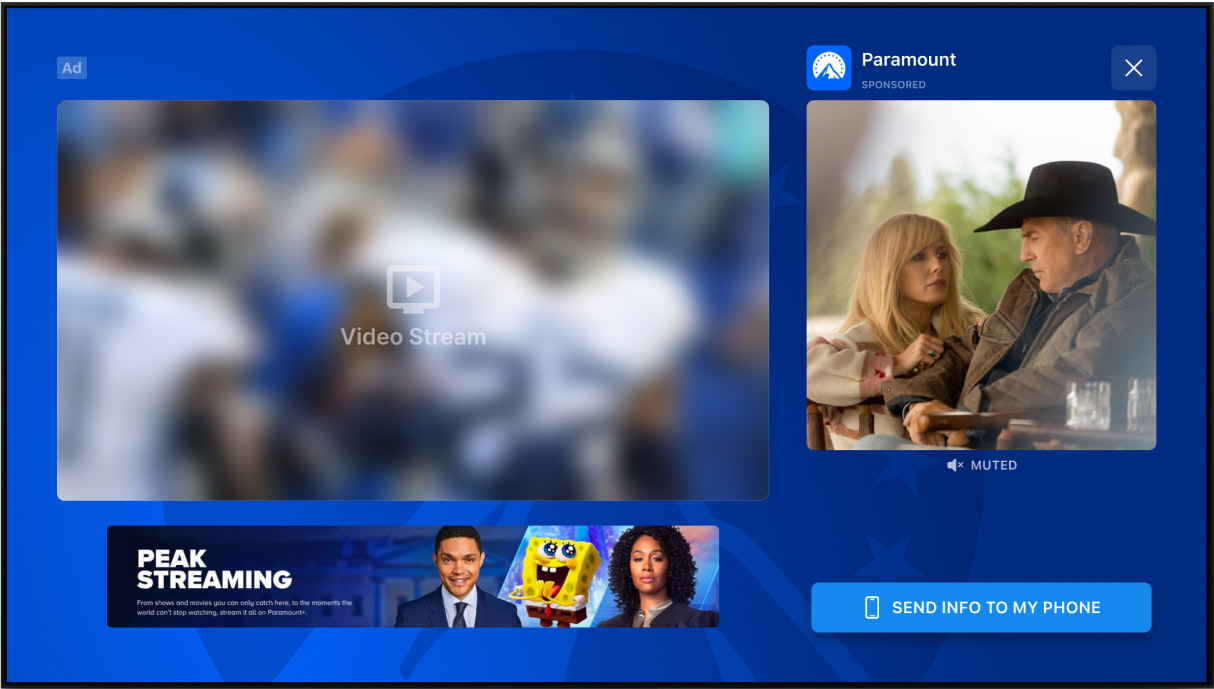
tvOS 1:1 Ad
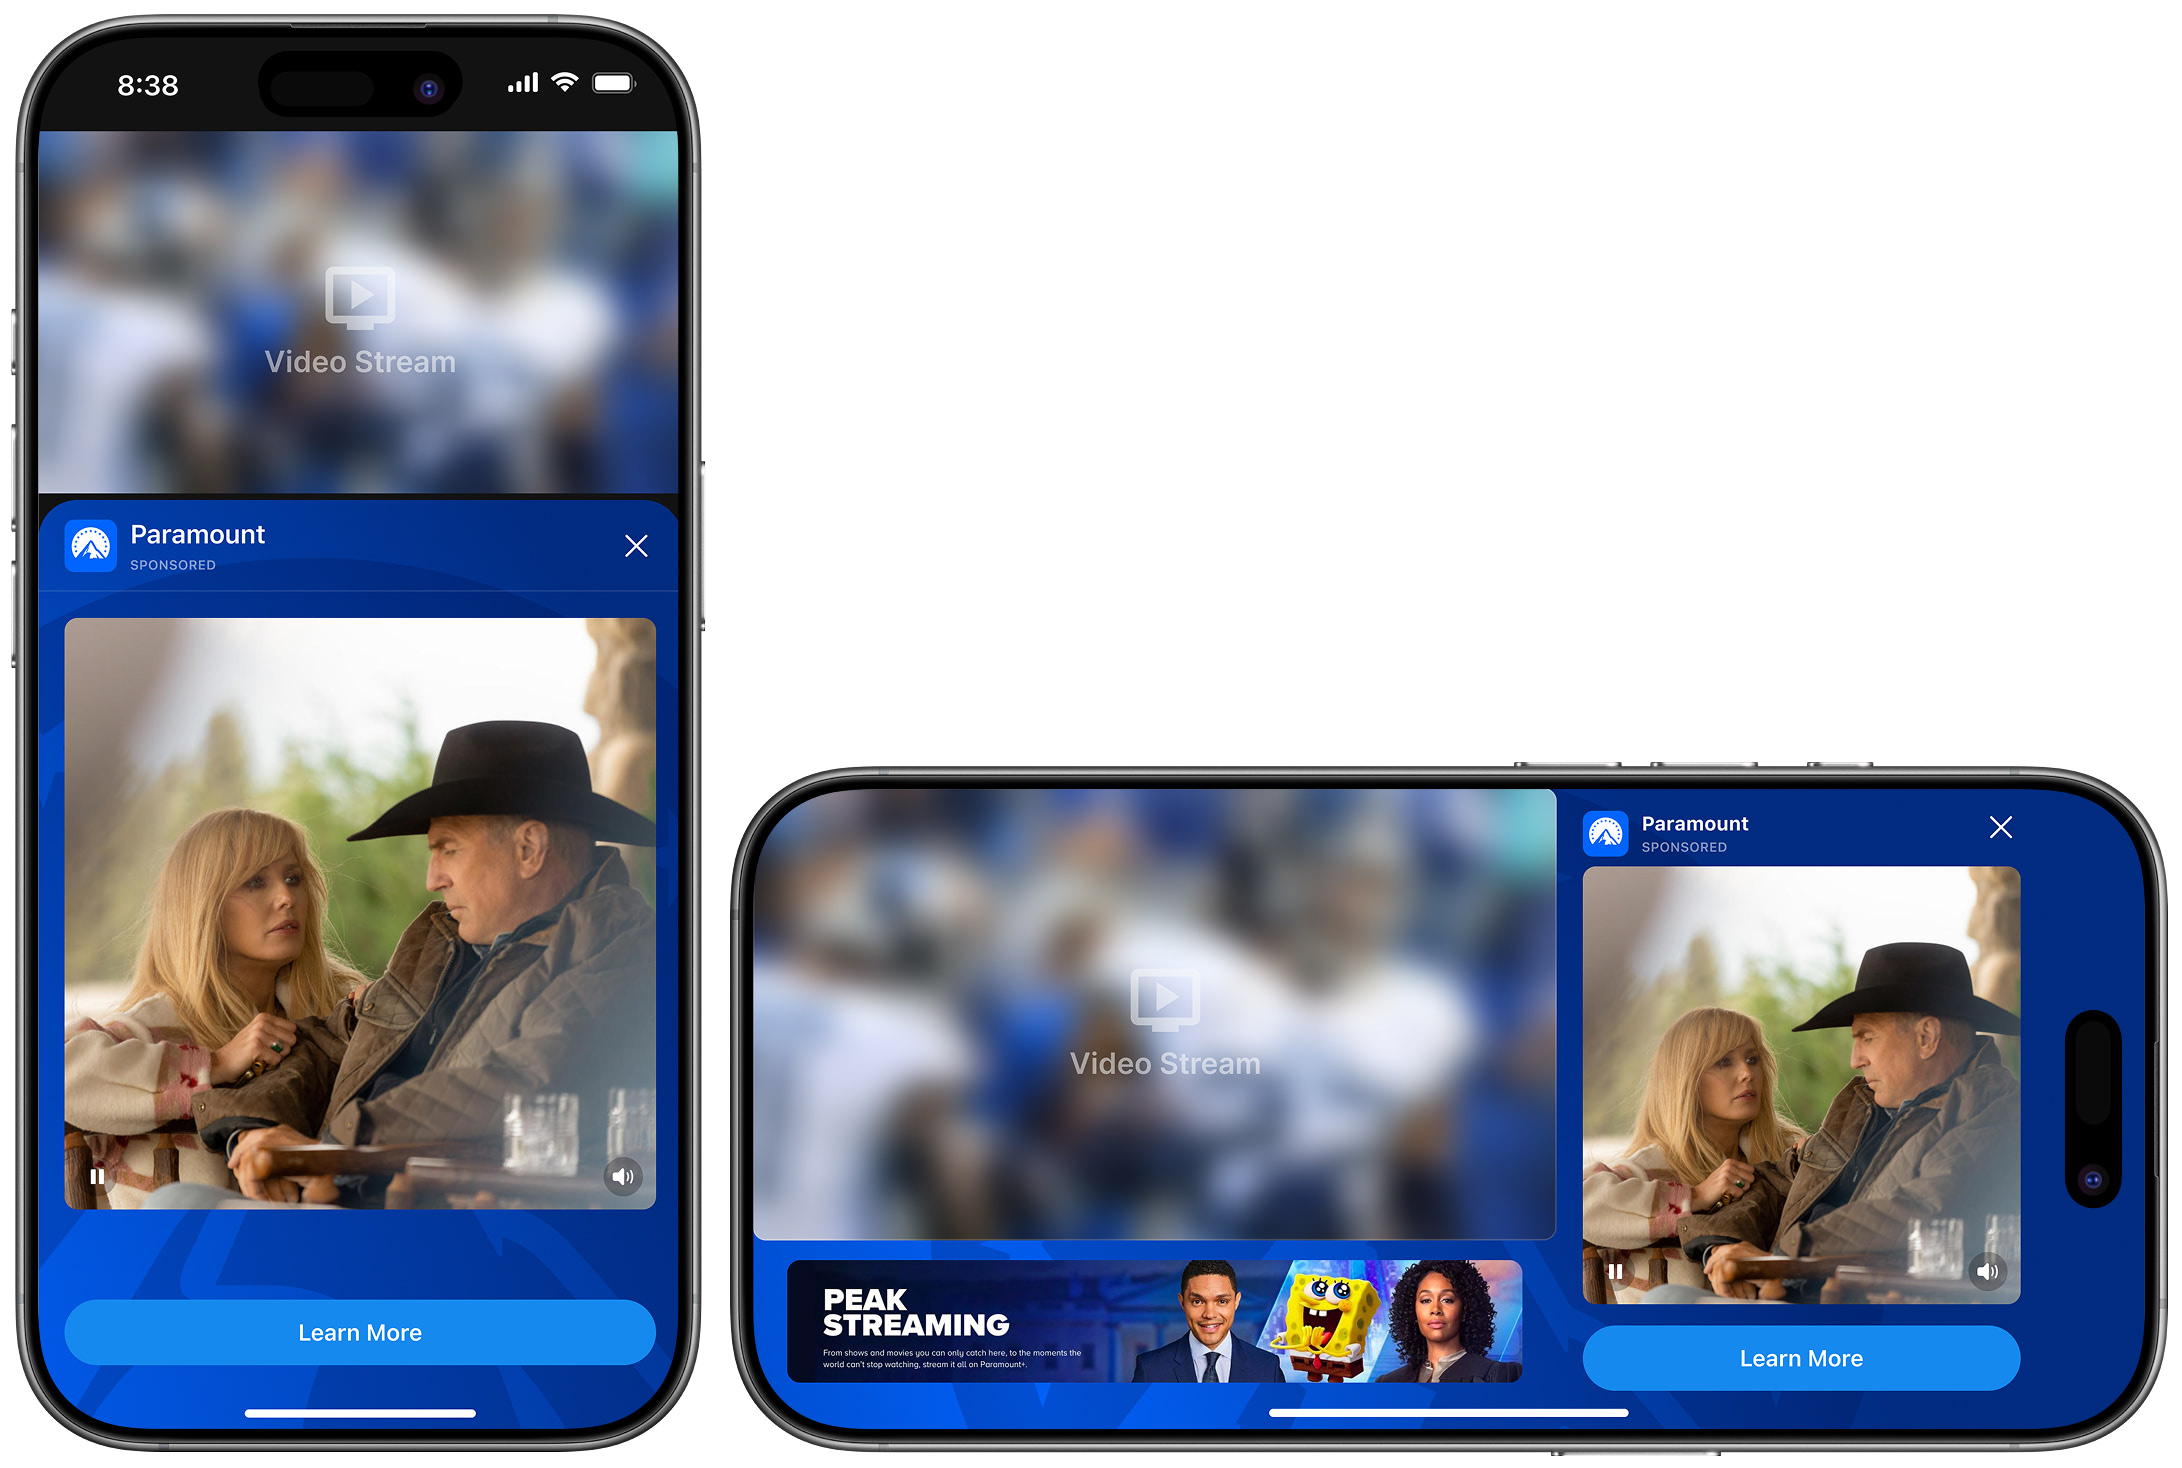
L-Bar
If the Test Advertising Feature is of interest, the StreamLayer development team is on-hand and available to ensure the integration is done smoothly and properly. The steps to get started that are covered in this guide are:
- Prerequisites and SDK API Key setup
- Install the StreamLayer test SDK via Swift Package Manager
- Initialize the SDK
- Create the StreamLayer ViewController
- Set up an "Event" in StreamLayer Studio
- Position the StreamLayer Element within your video experience
Prerequisites
System Requirements
- Xcode 15.3 / Swift 5.9
- iOS 15+
NOTE: If you use other versions of Xcode/swift, contact support, and we can add it to our continuous delivery pipeline.
Obtain an SDK API Key
Provide StreamLayer with your email. We will use this to create a new organization for you on StreamLayer Studio. You will then receive an invitation email with a link for authentication. After receiving access to StreamLayer Studio, the StreamLayer team will generate an API key for your organization. This key authenticates your application with our servers and is required for all interactions.
Once you have authenticated and accessed your organization within StreamLayer Studio, you can view, create content for, and moderate events. See an overview of StreamLayer Studio here.
Installation
Swift Package Manager
You can integrate StreamLayer SDK using SPM (Swift Package Manager) in 2 ways
Semi-Manual Integration
- Select your workspace in the Xcode Project View
- Select project
- Select package dependencies
- Press + to add a new dependency
- Insert
[email protected]:StreamLayer/sdk-ios.git - Dependency Rule:
Up to Next Major Version: 8. Add Package- Select
StreamLayerfrom package products, select an appropriate target to add this to - Wait until all dependencies have been downloaded
Integration through Package.swift
- Open your
Package.swiftfile - In
dependenciesadd.package(url: "[email protected]:StreamLayer/sdk-ios.git", from: "8.22.31") - Add
.product(name: "StreamLayerSDK", package: "sdk-ios")to appropriate target
Integration Steps
1. Install the StreamLayer test SDK
Import the StreamLayer framework. Add the following to the AppDelegate.swift file:
import StreamLayerBuild the application to confirm the framework and related dependencies are correctly included.
2. Initialize the SDK
In your AppDelegate, initialize the SDK with the following command:
Note: You need to replace REPLACE_WITH_YOUR_SDK_KEY with the SDK Key found in Settings (https://docs.streamlayer.io/docs/settings).
3. Create the StreamLayer ViewController
Init the StreamLayer Element using StreamLayer.createOverlay(...) method and remove it during the parent VC deinitialization:
4. Setup an event in StreamLayer Studio
StreamLayer SDK requires the host app to set up an Event. An event can be added to StreamLayer Studio on demand or via an API scheduler. The host app should notify the StreamLayer SDK when a new event is selected/activated by calling StreamLayer.createSession() function.
Event value is usually dynamic. It should be switched accordingly to the app page where the passed event is desired to be manipulated through the studio — in this case, to show ad units. Every time the event is switched the following code should be called:
StreamLayer.createSession(for: eventId)For this non-dynamic test integration, the event-id can be a static string. We have pre-created a demo event:
StreamLayer.createSession(for: "demo")5. If L-bar squeeze back formats are desired, enable L-bar in the app.
See https://docs.streamlayer.io/docs/integration-guide-ios#sidebar-support
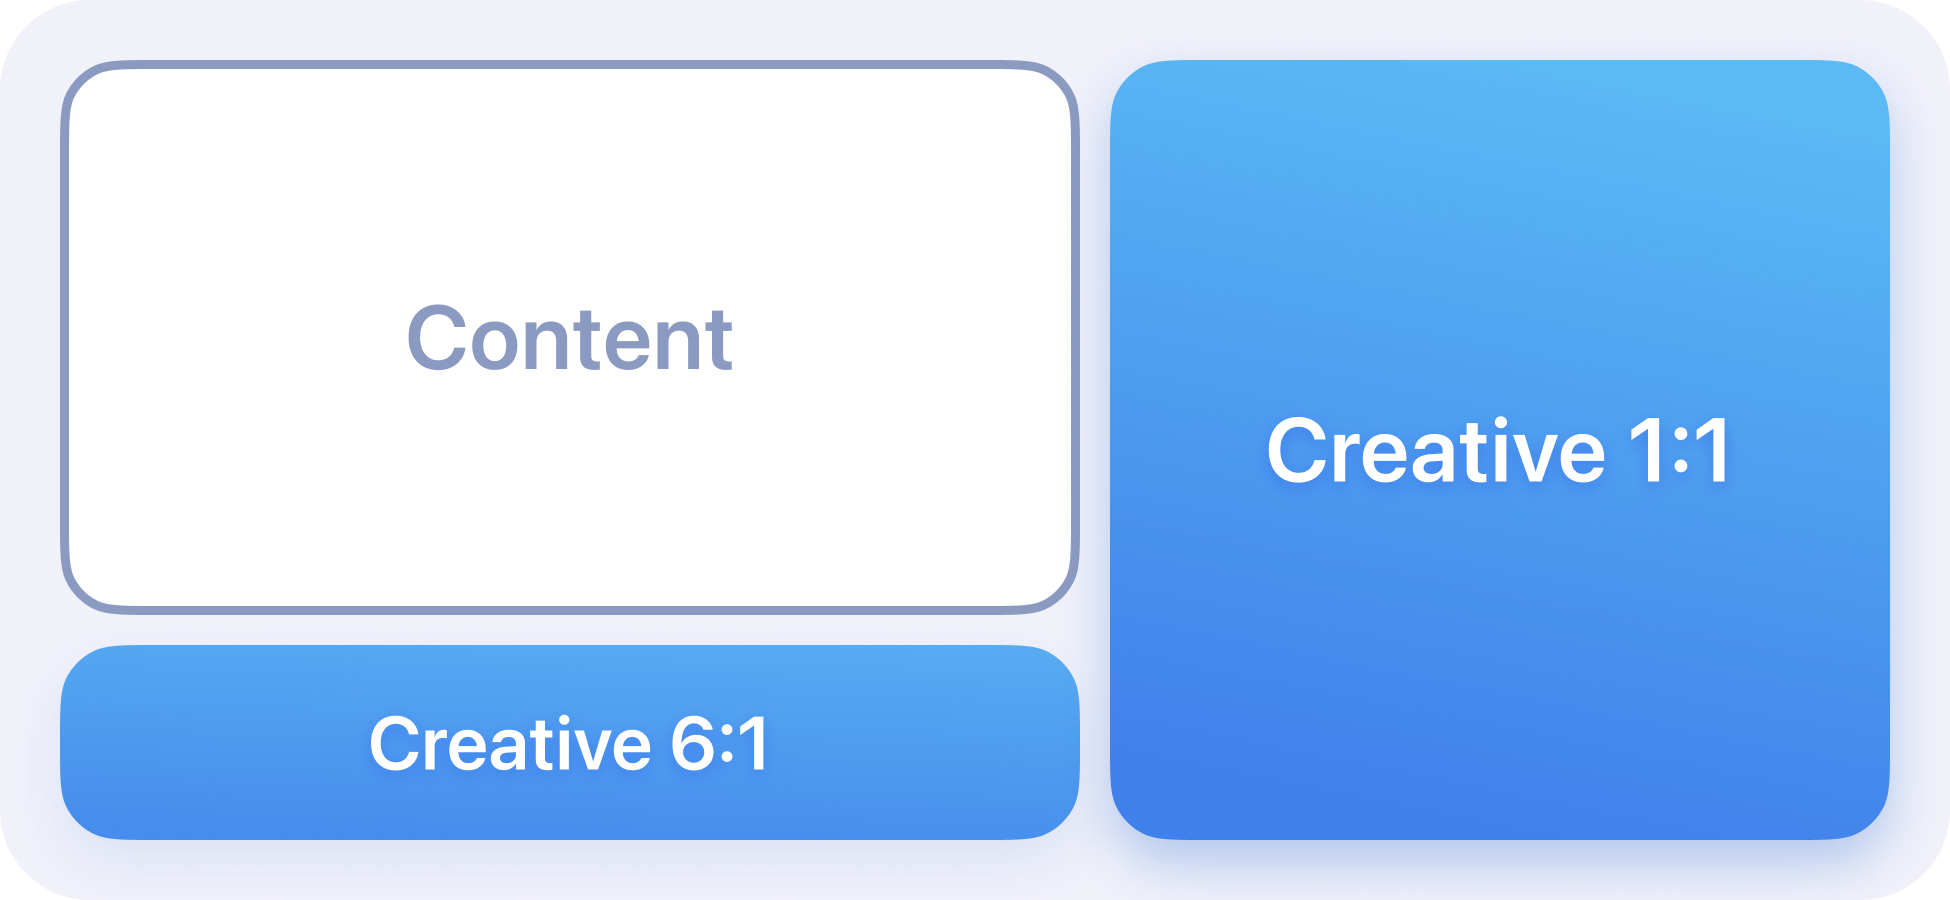
LBar mode:
Use this mode when you want the L-bar to always occupy the lower space, regardless of whether there is a banner present. This ensures that the reserved space for the L-bar remains constant, even if no banner is displayed.-
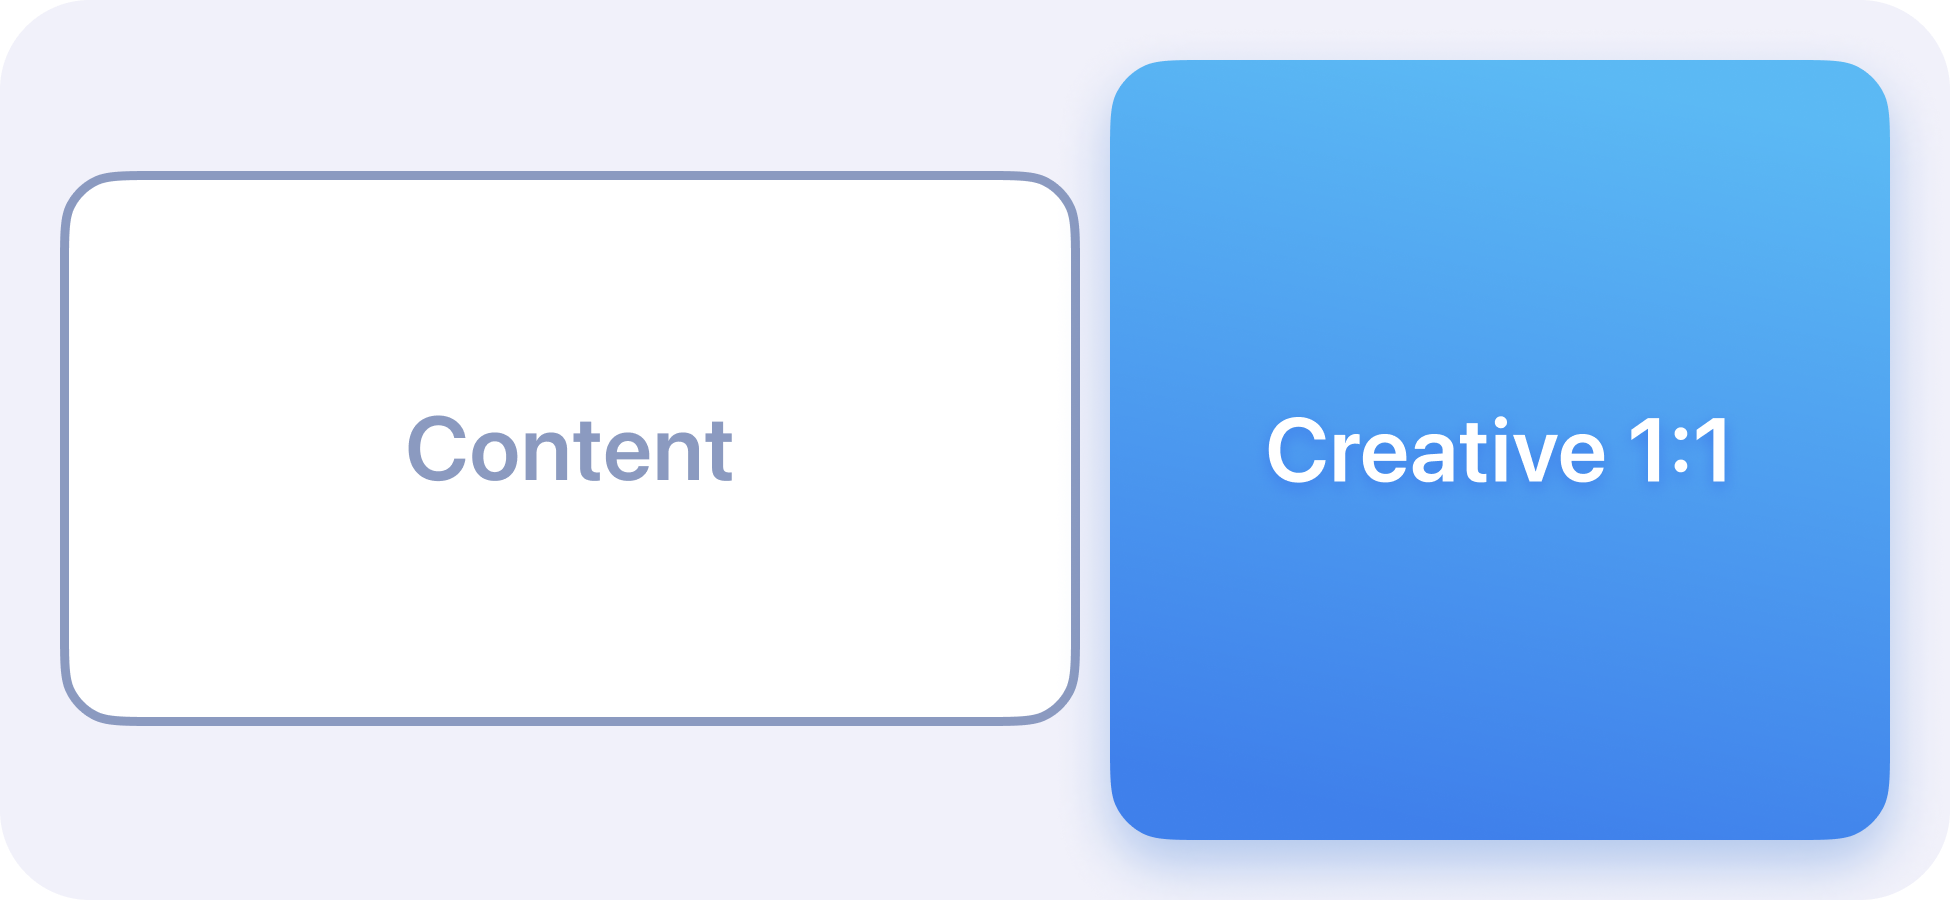
Sidebar mode:
Use this mode when you want the L-bar to only occupy space when a banner exists. If no banner is present, the lower space will not be shown, allowing the content to fully utilize the space.
The following is the base implementation of the SLROverlayDelegate:
Related
- Getting Started — Platform overview and quick-start path
- Integration Guide — Complete SDK setup instructions
- Test Integration: Ads + Games — Test ads and interactive game units together
Updated 4 months ago