Test Integration: Advertising
Quick-start test integration for StreamLayer advertising on Android. Deploy contextual ad units tied to live events or on a fixed schedule with notification, overlay, and L-bar formats.
Test Advertising
The Test Advertising integration provides a quick way to explore StreamLayer's advertising capabilities in a live or simulated environment. A moderator can manually insert contextual ad units tied to game action, or the system can deliver them automatically on a fixed schedule (for example, every five minutes).
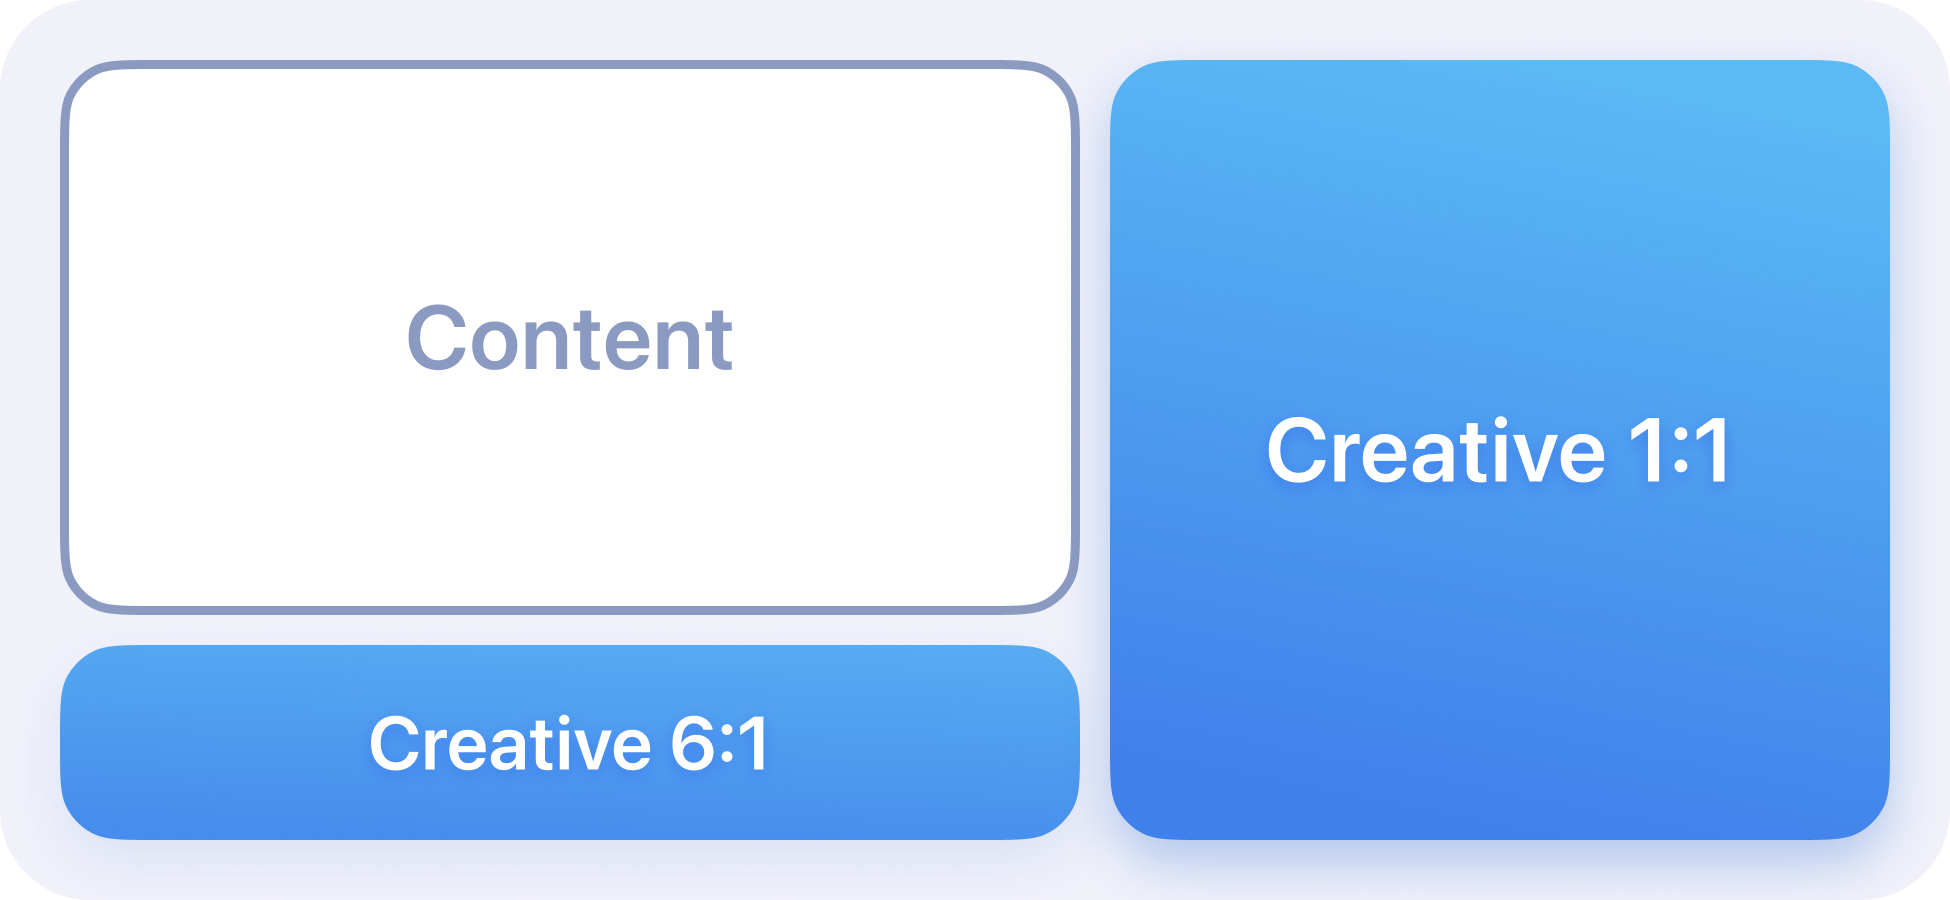
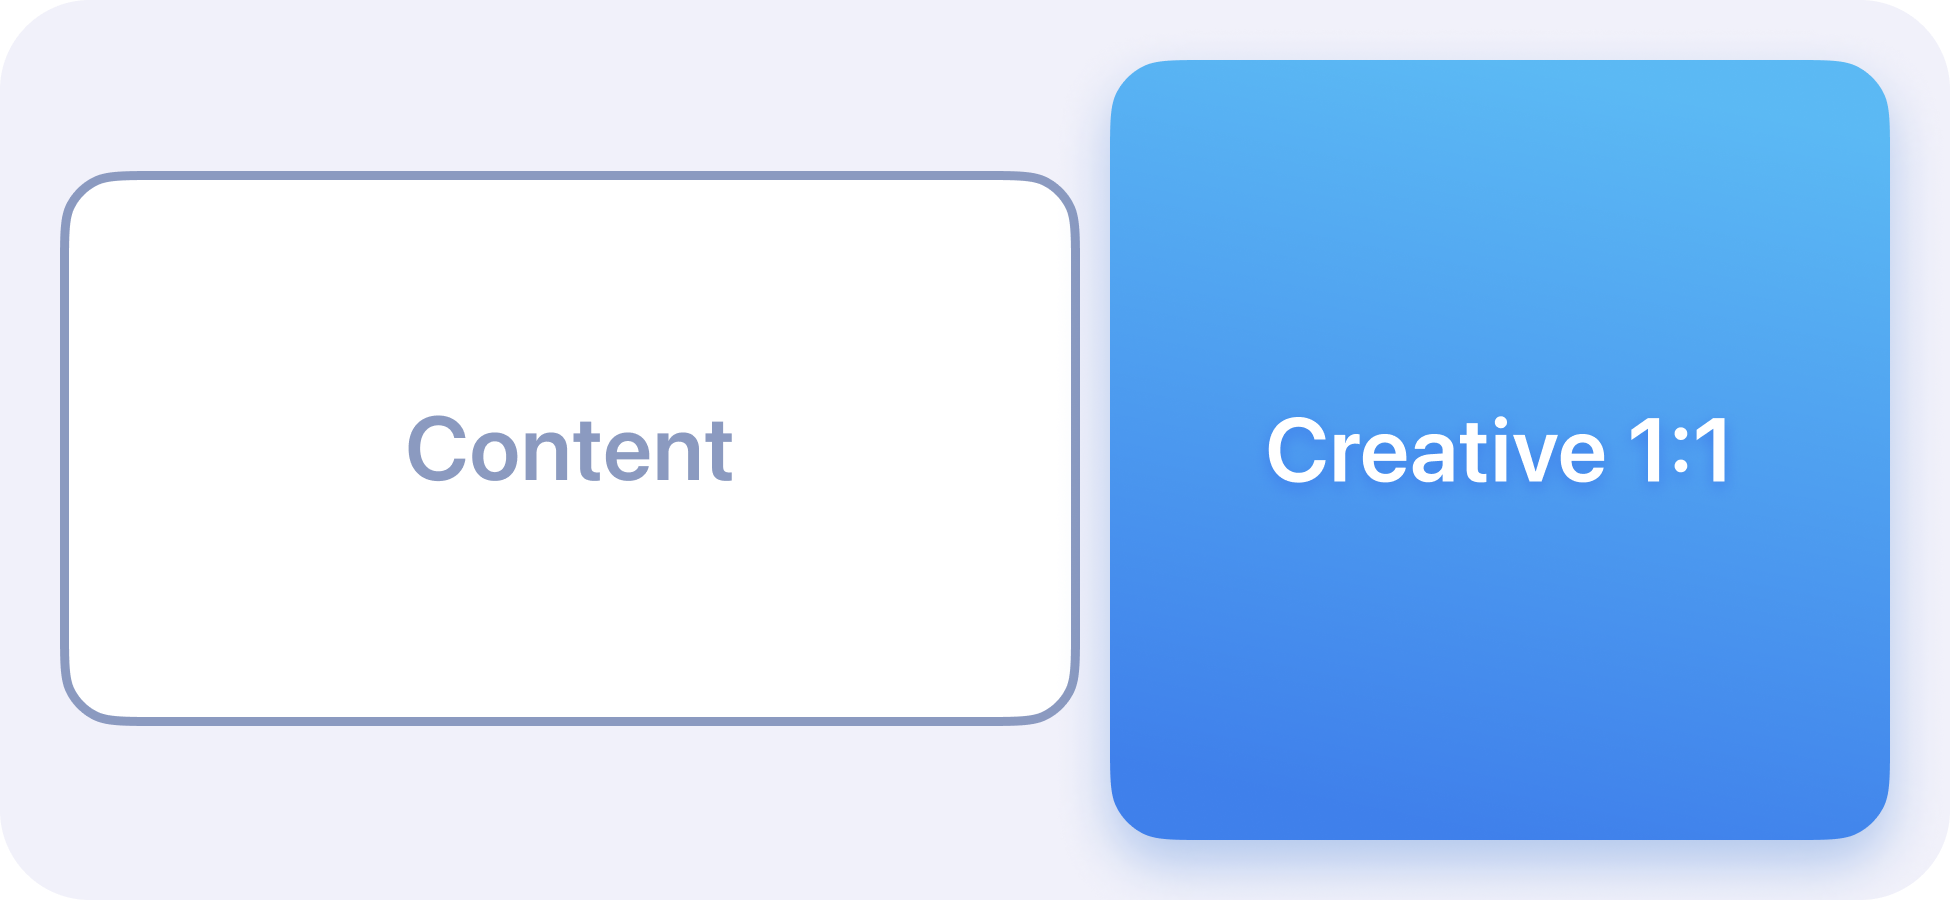
Ad units can appear as notifications and StreamLayer Elements or in a squeeze-back L-bar format. Depending on the ad format, viewers can interact with them in several ways, including saving a promotion to their digital wallet, scanning a QR code, or opening another application or web page.
During testing the standard StreamLayer Launch Button and other feature sub-menus are hidden so the viewer's focus stays on the ad experience.
For this test setup:
- A moderator uses StreamLayer Studio to create and activate ad units.
- The StreamLayer team will provide your team with Studio access so you can create, post, and moderate advertising content.
This test is an effective way to evaluate how interactive advertising can be deployed across different types of programming.
Uber Eats

L-Bar

StreamLayer Element
Integration Steps
Install the StreamLayer SDK
The SDK is distributed via a Maven public repository. Add the following dependency to your module-level build.gradle script. Choose one of the dependencies for the internal video player:
dependencies {
   implementation "io.streamlayer:androidsdk:<insert latest version>"
   // choose one of the dependencies
   implementation "io.streamlayer:android-exoplayer:<insert latest version>" // based on exoplayer
   implementation "io.streamlayer:android-media:<insert latest version>"
}
You can find the latest version here.
Also add the following dependency to your project-level build.gradle script:
allprojects {
    repositories {
        ...
        mavenCentral() // add this line
        maven { url "https://jitpack.io" } // add this line
    }
}
Initialize the SDK
Import the StreamLayer class into your Application class and initialize the SDK in onCreate() using StreamLayer.initializeApp() with your SDK API Key:
import io.streamlayer.sdk.StreamLayer
import io.streamlayer.sdk.exoplayer.StreamLayerExoPlayer
import io.streamlayer.sdk.media3.StreamLayerMedia3Player

override fun onCreate() {
    super.onCreate()
    // initialize sdk with your key
    StreamLayer.initializeApp(this, "SL_SDK_KEY")
    StreamLayer.setInvitesEnabled(false)

    // initialize a player
    StreamLayerMedia3Player.initSdk(this)
    // or
    StreamLayerExoPlayer.initSdk(this)
}
Note: Replace SL_SDK_KEY with the SDK Key provided to you by the StreamLayer team.
Set up Gamification options
Turn off the Gamification feature:
import io.streamlayer.sdk.StreamLayer

override fun onCreate() {
    super.onCreate()
    // set gamification options
    StreamLayer.setGamificationOptions(StreamLayer.GameOptions(
            isGlobalLeaderboardEnabled = false,
            isInvitesEnabled = false,
            isOnboardingEnabled = false,
            showGamificationNotificationOnboarding = false
        ))
}
Set up StreamLayerFragment in Activity
The SDK provides io.streamlayer.sdk.main.StreamLayerFragment — a fragment that contains all supported SDK features. You can add it programmatically or declare it in your activity's XML layout. Use the tag android:tag="StreamLayerFragment" for any version of the SDK fragment. We recommend using FragmentContainerView:
<?xml version="1.0" encoding="utf-8"?>
<androidx.constraintlayout.widget.ConstraintLayout xmlns:android="<http://schemas.android.com/apk/res/android>"
    xmlns:app="<http://schemas.android.com/apk/res-auto>"
    xmlns:tools="<http://schemas.android.com/tools>"
    android:id="@+id/container"
    android:layout_width="match_parent"
    android:layout_height="match_parent">

    <com.google.android.exoplayer2.ui.StyledPlayerView
        android:id="@+id/playerView"
        android:layout_width="0dp"
        android:layout_height="0dp"
        app:auto_show="false"
        app:hide_on_touch="false"
        app:keep_content_on_player_reset="true"
        app:layout_constraintDimensionRatio="H,16:9"
        app:layout_constraintEnd_toEndOf="parent"
        app:layout_constraintStart_toStartOf="parent"
        app:layout_constraintTop_toTopOf="parent"
        app:resize_mode="zoom"
        app:surface_type="surface_view"
        app:use_controller="false"
        tools:background="@tools:sample/backgrounds/scenic" />

    <androidx.fragment.app.FragmentContainerView
        android:id="@+id/streamLayerFragment"
        android:name="io.streamlayer.sdk.main.StreamLayerFragment"
        android:layout_width="match_parent"
        android:layout_height="0dp"
        android:tag="StreamLayerFragment"
        app:layout_constraintBottom_toBottomOf="parent"
        app:layout_constraintEnd_toEndOf="parent"
        app:layout_constraintStart_toStartOf="parent"
        app:layout_constraintTop_toTopOf="parent" />

</androidx.constraintlayout.widget.ConstraintLayout>
In the above example the StreamLayer Element takes up the entire screen area, but when expanded it should reach the bottom of the PlayerView. Set the overlayHeightSpace parameter programmatically in your Activity:
private val layoutListener = View.OnLayoutChangeListener { view, _, _, _, _, _, _, _, _ ->
        view?.let {
            if (view.height > 0 && isScreenPortrait()) {
                withStreamLayerUI { overlayHeightSpace = view.height }
            }
        }
    }

    override fun onCreate(savedInstanceState: Bundle?) {
        super.onCreate(savedInstanceState)
        binding = ActivityGamificationBinding.inflate(layoutInflater)
        setContentView(binding.root)
        binding.playerView.addOnLayoutChangeListener(layoutListener)
    }
Now configure StreamLayerFragment so that only advertising features are visible:
override fun onCreate(savedInstanceState: Bundle?) {
        super.onCreate(savedInstanceState)
        // disable sdk ui views
        withStreamLayerUI {
            isLaunchButtonEnabled = false // disable launch button
            isWhoIsWatchingViewEnabled = false // disable who's watching button
            isTooltipsEnabled = false // disable show tooltips
            isMenuProfileEnabled = false // disable menu profile
            inAppNotificationsMode = SLRAppHost.NotificationMode.List(
                     listOf(
                              SLRAppHost.NotificationMode.Feature.GAMES
                    )
            ) // enable only Games
        }
    }
If L-bar squeeze back formats are desired, enable L-bar in the app.
To always enable L-bars so that all content is presented in this format, set the config value: SLRAppHost.OverlayLandscapeMode.LBAR.
If you have overlayLandscapeMode = OverlayLandscapeMode.START instead, StreamLayer's gamification feature and promotions will appear as StreamLayer Elements unless promotions are configured as L-bar in StreamLayer Studio.
lbarMode
lbarModeThe lbarMode property of SLRAppHost.OverlayLandscapeMode.LBAR controls how the L-bar (lower banner area) behaves:
SLRAppHost.LBarMode.FULL:
Use this mode when you want the L-bar to always occupy the lower space, regardless of whether there is a banner present. This ensures that the reserved space for the L-bar remains constant, even if no banner is displayed.
SLRAppHost.LBarMode.SIDE_BAR:
Use this mode when you want the L-bar to only occupy space when a banner exists. If no banner is present, the lower space will not be shown, allowing the content to fully utilize the space.
withStreamLayerUI { lbarMode = SLRAppHost.LBarMode.FULL }Set up SDK Audio Ducking
For the best user experience, certain units within the StreamLayer Element may require a decrease in the main video's audio level. The SDK requests the host app to lower volume when users play video in ad or gamification units. Implement SLRAppHost.Delegate to handle these callbacks. Remember to add and remove your listener as needed:
class GamificationActivity : AppCompatActivity() {

    // exo player helper
    private val exoHelper: ExoPlayerHelper by lazy {
        ExoPlayerHelper(this, getString(R.string.app_name))
    }

    // app host delegate
    private val appHostDelegate = object : SLRAppHost.Delegate {

        override fun requestAudioDucking(level: Float) {
            exoHelper.notifyDuckingChanged(true, level)
        }

        override fun disableAudioDucking() {
            exoHelper.notifyDuckingChanged(false)
        }

        override fun setAudioVolume(value: Float) {
            exoHelper.player.volume = value
        }

        override fun getAudioVolumeListener(): Flow<Float> = exoHelper.getAudioVolumeListener()
    }


    override fun onCreate(savedInstanceState: Bundle?) {
        super.onCreate(savedInstanceState)
         // set host app player
        withStreamLayerUI { delegate = appHostDelegate }
    }


   override fun onDestroy() {
        withStreamLayerUI { delegate = null }
        super.onDestroy()
        // release player
        exoHelper.release()
   }

}
Related
- Integration Guide — Complete SDK setup instructions
- UI Options Guide — Runtime configuration options
- Test Integration: Advertising (iOS) — iOS advertising test setup
Updated 4 months ago